Omelette aux Girolles a.k.a Chanterelles

Omelette aux Girolles a.k.a Chanterelles

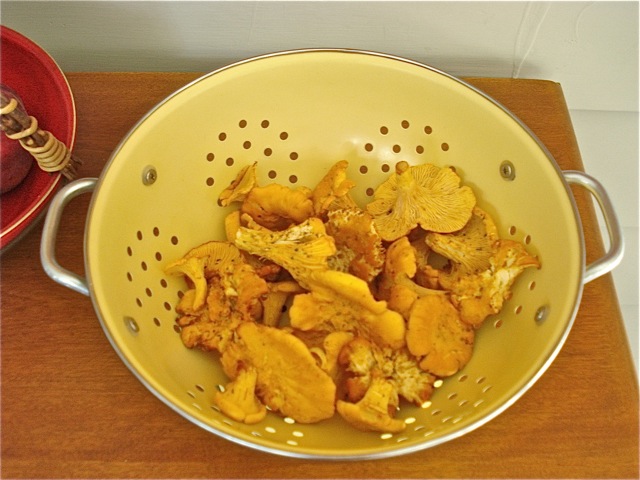
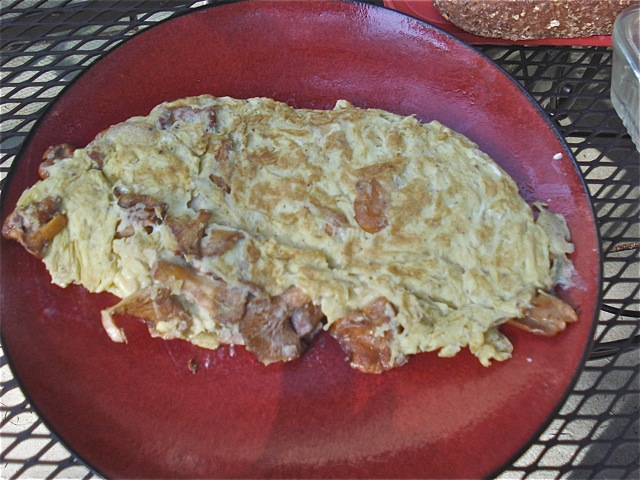
Last Tuesday we set out to surprise Douglas Rothschild while he was on his epic walk from Troy (N.Y) to Ithaca (N.Y). I will tell you more about this event in a later post, but Matvei Yankelevich had found the perfect spot for Pierre and I to perform our surprise intervention and then have a picnic aperitif. The secret rendez-vous was fixed by Anna Moschovakis who was with Douglas filming & recording the walk for a documentary film project.  The spot was in the Hoxie Gorge, just south of Cortland, N.Y. There was a place to hide, and then a place to relax next to a meandering stream where we sipped a beautiful blueberry wine just purchased up the road at Cherry Knoll Farm by Douglas & Anna. Usually I don’t like these wines, but this one was particularly good. Matvei had also spotted chanterelles and I had the honor of picking & keeping them!  What a beautiful omelet we had for breakfast the next morning at the lovely home of poet Lori Anderson-Moseman & Tom Moseman in Ithaca, where poet friend Matthew Klane was also visiting.

The recipe is simple:
I never wash chanterelles, but simply remove the dirt/sand with a soft brush or a soft, slightly damp cloth.
Cut them into two or four pieces depending on  size.

With a fork beat the eggs vigorously (2 per person).
add salt + pepper to taste

Heat olive oil with a dollop of butter in a pan, add the your chanterelles and cook over medium heat until soft, then add some garlic and parsley, toss for a few minutes and remove from the pan.

Wipe the pan clean and and return it to the stove with more olive oil and another dollop of butter. When it is really hot pour the egg batter into the pan. Begin to stir the eggs while letting them coagulate some and mixing it in with the more liquid part. When semi soft add the Chanterelles, & mix them in.  If you have a very good pan and le tour de main —that is, the knack for it — loosen the edges by shaking the pan and make the omelet curl on itself, slide it off at an angle onto a warm plate, let it settle for 30 seconds to a minute, and fold it.  If you need a little help use a spatula & fold over and slide it on a plate.

Also, before eating mushrooms you have gathered yourself make sure they are edible! You can find some info here. Once a friend  told me that it is a good idea to save a little piece of the mushroom in case there is a problem. We had been totally reassured by Matvei who is a connoisseur, as I  am more familiar with the Pyrenean ones I wanted to make sure we were not dealing with false chanterelles. Anyhow, we ate them and we are here to tell the tale. We had our omelet for breakfast, but it can make a great lunch and can be accompanied by my simple salad (video here)  and a little glass of light red wine!

Maybe time to reread  Elizabeth David’s book: An Omelette and a Glass of Wine !
Scream for Mint Ice Cream!

Scream for Mint Ice Cream!

Yes! Scream for my Mint Ice Cream, and there’s not even cream in it.! Not because I am concerned about cutting the calories down, no, but simply because for years I thought this was the way ice cream was always made. When I grew up at the family Hotel Poste & Golf in Luchon, I really enjoyed hanging out in the kitchen but especially when Crème Glacée was au menu. Yummy! I would always get the first taste and get to leak the giant paddle. I loved vanilla flavor the best, though coffee, chocolate, caramel where not bad either.
In French the generic term for ice cream is glace, so for a long time, and because of the recipe I am about to share with you, I didn’t know there was cream in ice cream and to me the cream
referred to was the one I watched the cook make on the stove. Well, I have found out about all the other ice creams, gelati, sorbets… but this is still my favorite recipe, so here it is:

The process starts by making a crème anglaise or custard which is what gives the rich, velvety texture with a clean refreshing finish. The recipe I used is based on an Escoffier recipe I have adapted.

Ingredients:

1 quart of whole milk (organic pasture is best)
7 egg yolks
1 cup of sugar
a dash of vanilla
1 fresh bunch of mint

Recipe:

Boil the milk.
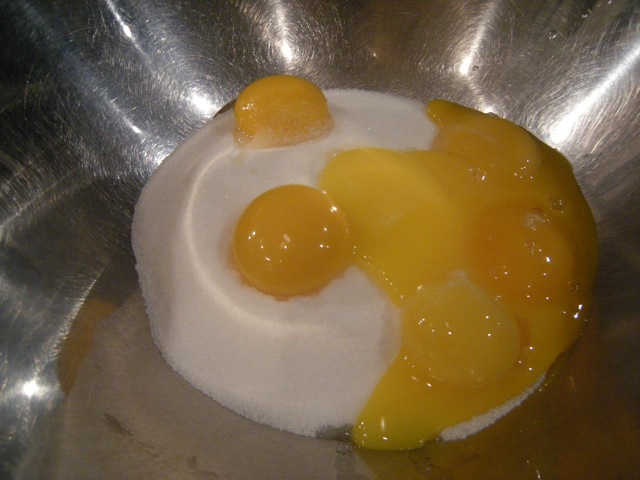
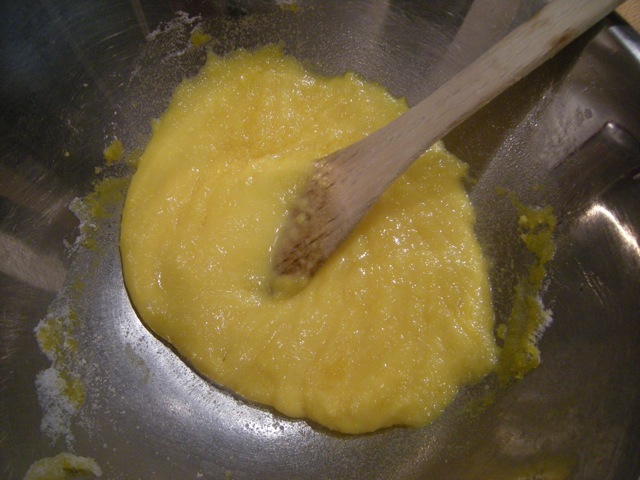
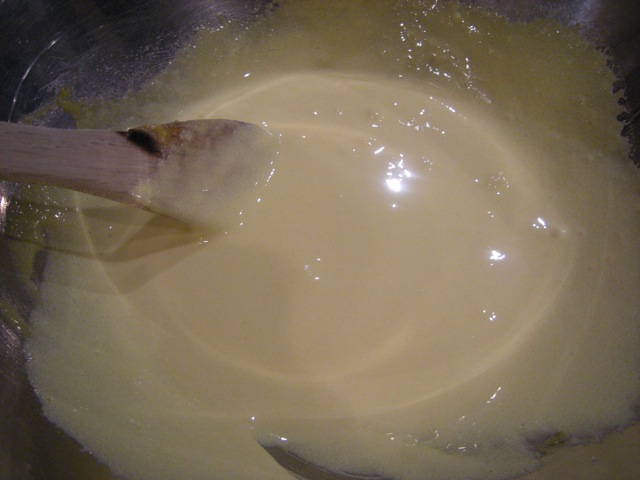
In a bowl stir energetically the egg yolks and sugar with a wooden spoon until the mixture becomes almost white and  the texture can form  a “ribbon” when lifted.

Poor the milk in the mixture slowly and mix thoroughly.
Poor the mixture back into a clean pan over low/medium heat.
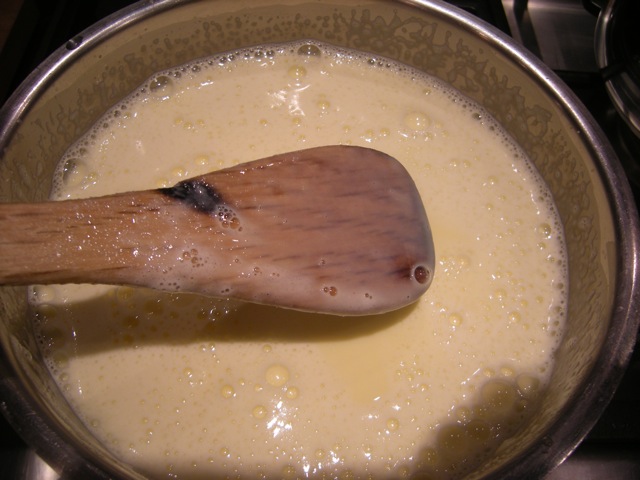
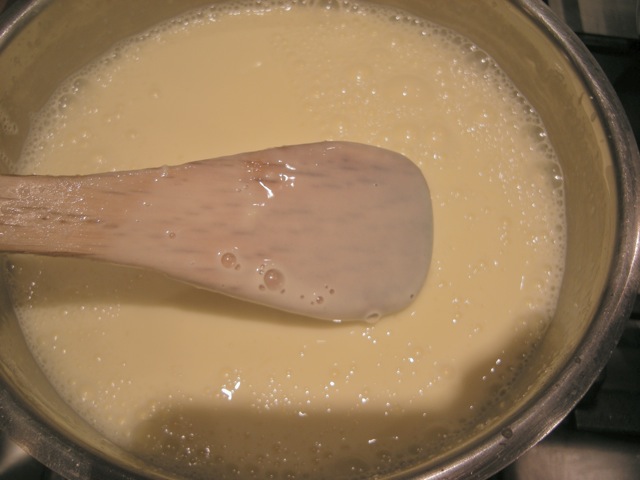
Stir constantly making an “8 shape” in the pan with a wooden spoon.  Never bring it to a boil, your cream will curdle and will be ruined* . Your cream is ready when thick enough to coat the spoon.


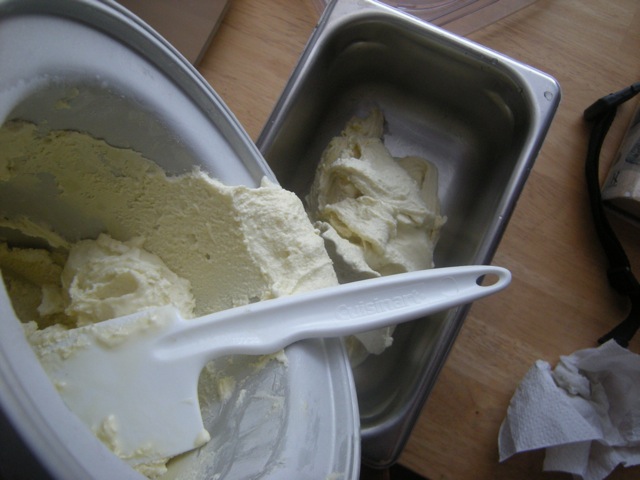
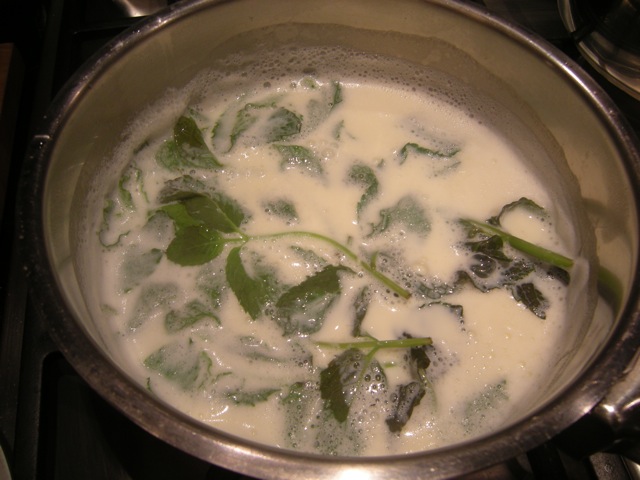
Once the cream is cooked, add the clean fresh mint and let infuse until the mixture cools down completely. Strain and reserve in the fridge overnight.  The next day your cream will have thickened more and you are now ready to churn it. I use a Cuisinart ICE-30BC Pure Indulgence 2-Quart Automatic Frozen Yogurt, Sorbet, and Ice Cream Maker, a great present from my son Joseph & his wife. It takes less than 25 minutes to churn it. Once your cream is frozen reserve in a container — or a mold— and save it in freezer until you are ready to serve it.
And by the way, this cream can be used for other desserts like Ile flottante, or served with fresh fruits & pound cake. It can also be flavored with saffron, coffee, caramel….be creative.

I didn’t get a chance to take a picture but I served this one with strawberries  topped with melted chocolate and garnished with roasted almonds. C’est bon!

*though if that happens, try pouring the cream in a bottle, close tightly and shake vigorously.


Keep the Ink! Cook it…II!

Keep the Ink! Cook it…II!

The previous post showed  how to clean  squids while saving their precious ink to make the wonderful recipe Calamares in su Tinta,  Calamars à l’Encre or Squid in their own Ink. But first let me share some sweet family history about this dish.

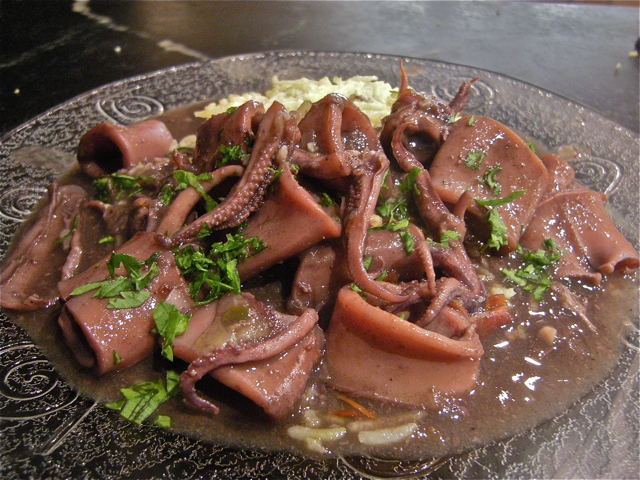
When we first moved to this country in 1987, my son Joseph was 6. When he started school we were told there was a cantina where the kids could buy their lunches. At first we were all eager to blend in so we decided to go with it. First day of school, and little Joseph comes home appalled reporting that there was no lunch served, only pizza and hot dogs! AND kids who brought their own lunches had peanut & jelly sandwiches —to this day I don’t think he would consider eating one unless truly starved. We then decided to pack him a real lunch, and that didn’t include sandwiches, that was picnic food, he was used to French public schools ,then family style, sit down three course meal! So I purchased a thermos box and packed him a hot lunch for many years. His favorite one was to take to school: squid in their own ink — needless to say not a popular item to trade lunch! It is still one of his favorite dishes and he actually did partake of this batch. Alors, voilà la recipe for Joseph Mastantuono and for poet Jonathan Skinner who asked for it.

Calamars à l’Encre

5 lbs of squids cleaned, ink sacks set aside
1 medium chopped onion
1 peeled & seeded tomato
4 cloves of garlic chopped fine
1/2 bottle of red wine —French Languedoc or Spanish—
1/3 cup of  Spanish Brandy
3 tablespoons Arrowroot flour ( or two of regular flour)
1/2 cup of chopped parsley for garnish

– Cut the cleaned and drained squid cones into rings —  I don’t cut the tentacles though some people do and I cut the rings about 1 inch thick.

-Warm a skillet with 3 tablespoons of olive oil, add the onions, cook gently until slightly golden.

-Meanwhile prepare your ink:

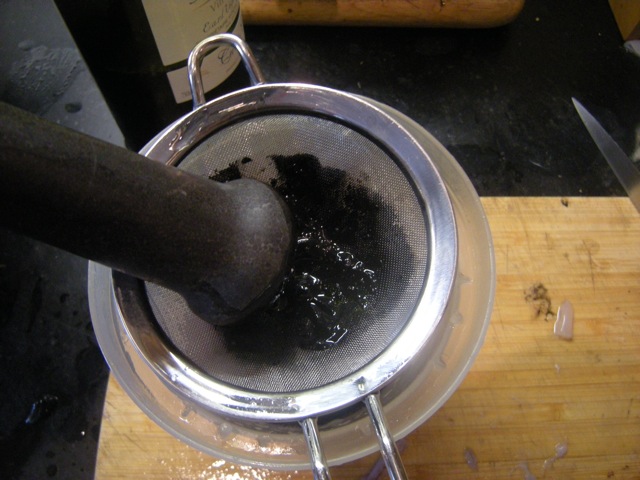
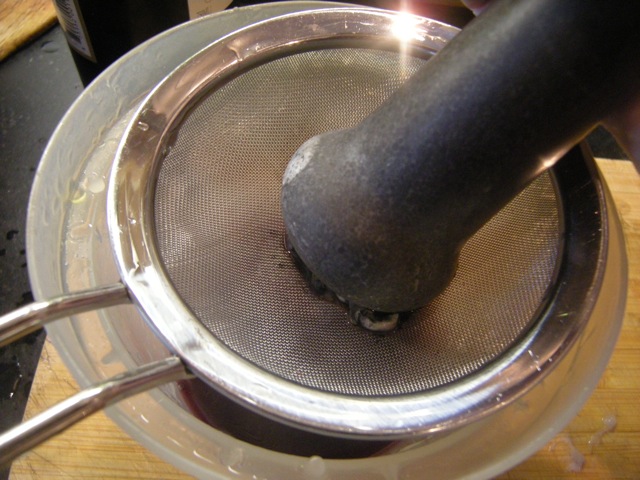
with a pestle (or the back of a spoon) apply pressure to the sacks to force the ink through the mesh of the strainer. Pour the red wine over the sacks in the strainer and keep working until you have extracted the ink from the bags. Save.

-Add the cut & dried squid to the skillet, mix well with the onions. Once the squid start getting opaque and stiffen add the Brandy and flambé safely (if you don’t flambé is not a big deal). Mix well.

– Add garlic, tomato & mix well.

-Add ink with wine, mix well.

-Sprinkle the three table spoons of arrowroot on top. Mix very well.

-Add more wine, if needed, so that liquid covers squid to 3/4.

-Bring to a gentle boil, then turn it down to a simmer and cook for 30 minutes or so. Your squid have to be very tender.

I like serving it with saffron rice, but white rice is good too.
Bon Appétit! And please report if you make it.


Clean your Squid! Keep the Ink! — I

Clean your Squid! Keep the Ink! — I

Yes, you can buy clean squid but then you are depriving yourself of what will give you one of the most exquisite dishes: Calamare en su Tinta or Squid in its own ink. You can also buy the ink in a little plastic bag and make the sauce from that… but it ain’t the same, trust me. Most of the time it gets too black and too strong. If you use what comes with the creatures you will cook, it is always the perfect amount. Yes! Cleaning squid can be tedious and time consuming, so why not have a  squid cleaning party? I am providing you all with the necessary info to do it yourself. Below, there is a video, though I am also including a step-by-step with pictures.

1- Make sure you buy very fresh squid. I do not like to use the frozen squids for this purpose. I am lucky enough to have fresh ones available at the Bay Ridge Green Market. I order them a few days in advance and request very fresh ones. Susana —who works for Glen at American Seafood stand— is always eager to please her customers. She also shares great Peruvian recipes that I still need to try. Let’s begin the cleaning process:

Cleaning Squids

1- Grasp the tail section firmly in your hand and grab the head section below the eyes as shown in the picture. Pull gently but firmly in order to detach the inside as deep as possible.


Cleaning

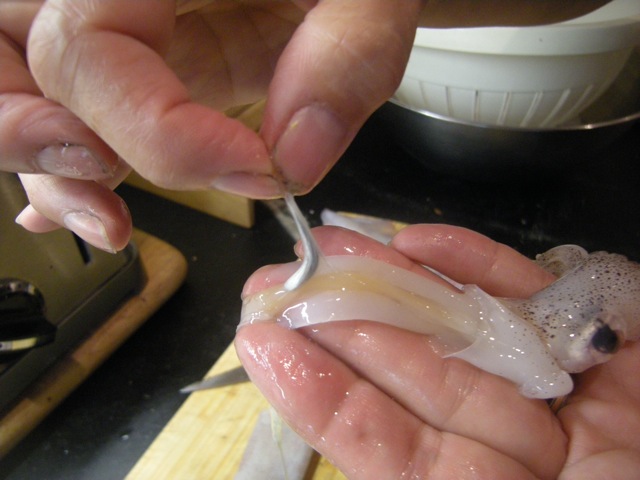
2- Find the silvery ink bag located in the inner section of what you pull from the squid. Gently lift it, detach it and save it in a stainer.


Cleaning Squids

3- Turn the tentacles upside down and apply pressure between the eyes in order to pop out the beak


Cleaning

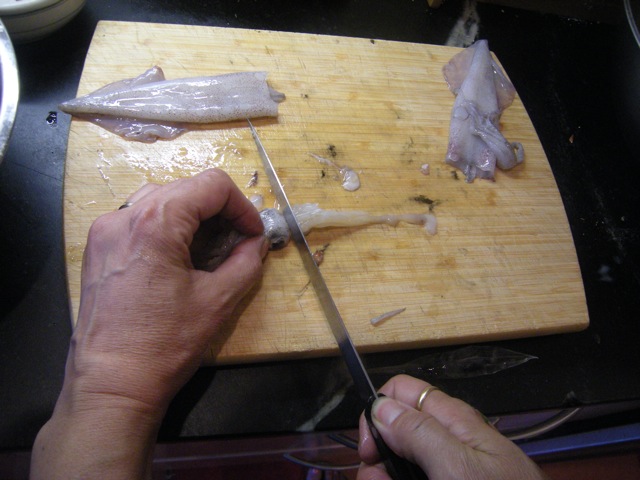
4- Hold the head part of the squid below the eyes and with a sharp knife cut  the tentacles below the eyes, being careful not to cut into the eyes. Rinse and place into a colander (the tentacles, not the eyes…)


Cleaning Squids

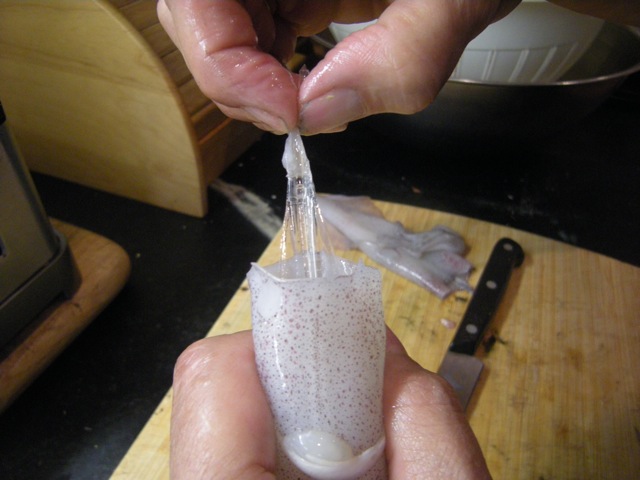
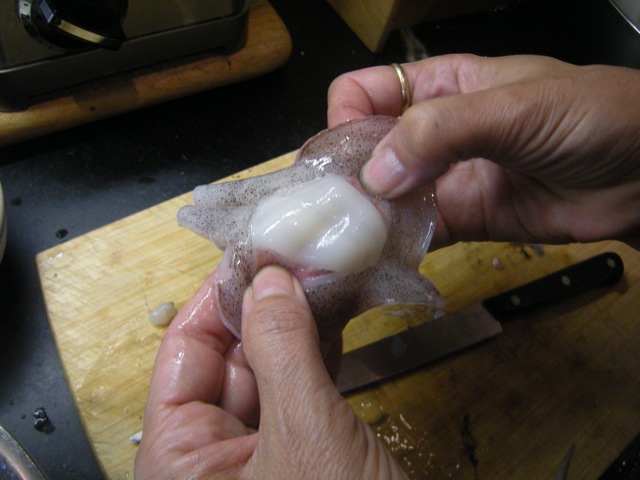
5- From the edge of the body part remove the pen shaped spine that looks like plastic. They can be saved to make fun collage projects with kids.


Cleaning

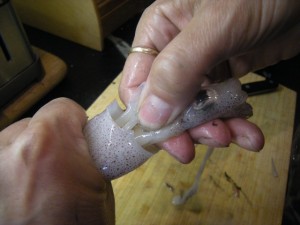
6- Peel the reddish outer membrane away, remove & discard. You can also peel the fins & also save them. Wash the body, squeeze to make sure nothing left inside. If you are very picky you can turn the inside out to make sure it is very clean — I don’t do that. Once clean, reserve in the colander with the tentacles.

Now the video: Don’t have great expectation — Miles shot it with my very low end camera, so that’s the best we could do. I think it will help. Watch it a couple of time before you try working the squid, it will help and give you confidence. At first you might break an ink bag or two, not a big deal, just clean up in between. Next post will be the recipe for the Calamari in the Ink, but once the cleaning is done it’s a breeze. O! One more thing:  5lbs  of  squid for 10 people should do it.

Tchakchouka

Tchakchouka

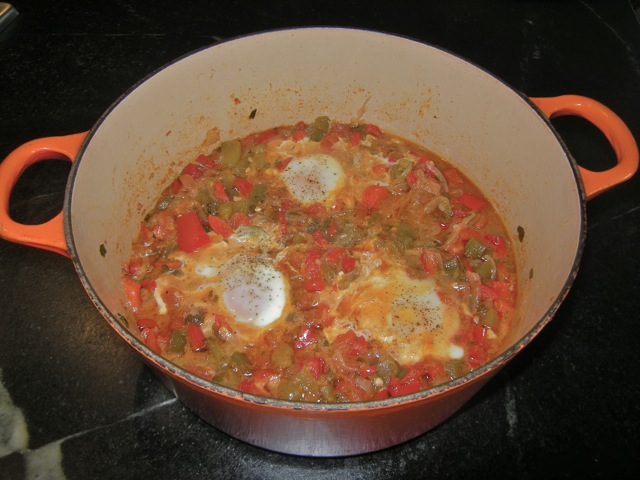
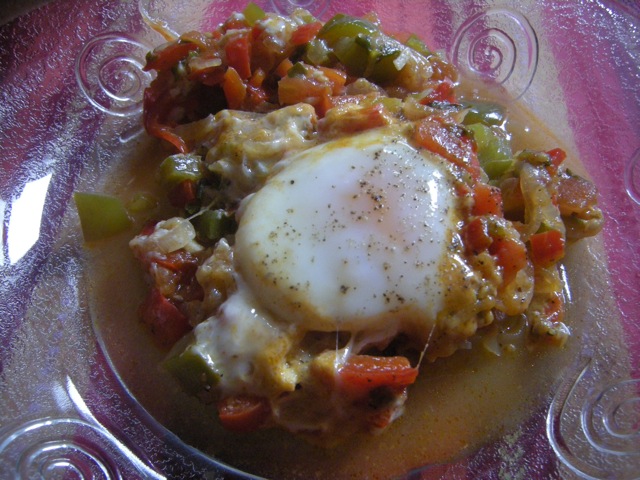
I assisted Pierre in making Tchakchouka, a dish he remembers from his time in Algeria. It is a kind of ratatouille — but to me it is the better dish. The recipe appears in many Mediterranean traditions. I have found Algerian, Jewish, Tunisian,  Moroccan & Kabile recipes, all have pretty much the same ingredients with variations of meat or eggs — at times coming close to the famous huevos rancheros! We made two versions: one with eggs and another without, which we served with lamb chops.  You can eat tchakchouka hot, luke-warm or cold, as you prefer, or as the weather suggests. You will not regret the effort and can make big batches of this super delicious fragrant summer dish. Don’t wait, make yours now!

Tchakchouka

Tchouchouka

Ingredients:
3 tablespoons olive oil
1 onion, sliced thin
2-3 garlic cloves, minced
3 tomatoes, peeled, seeded, and diced
2-3 green & red peppers,  roasted, peeled & sliced
1 cup of water
Paprika, ground coriander seeds
Fresh coriander & parsley chopped
Salt & pepper, to taste
4 eggs (optional)

Recipe:

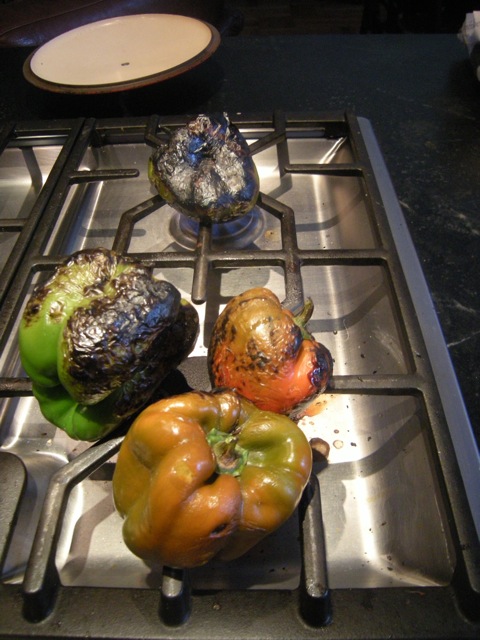
*Roast the peppers over your stove. When charred wrap them in newspaper. Wait until they cool off & then peel them, discard seeds, cut lengthwise into thin strips.

*Dip tomatoes in boiling water for one minute. Remove & cool, then peel, seed & dice.

* Heat the oil over a medium flame in a deep skillet. Stir in the paprika & ground coriander seeds and let cook slightly to color the oil, about 10-15 seconds.

* Add the onions, sauté until onions are translucent and wilted but not browned, about 4 minutes; add garlic, cook for another minute or so.

* Add tomatoes and bring to a rapid simmer. Add peppers, parsley & fresh coriander, water and salt and pepper. Reduce heat to low, and simmer, covered, for about 15-20 minutes. Add more water as needed.

* If you want to add eggs, form four small indentations in the simmering peppers to hold the eggs. Crack eggs, one by one, into a small bowl and slip each egg from the bowl into an indentation.

* Cover and simmer another 10 minutes or so until eggs are cooked through.
Voilà! & enjoy!

Tchakchouka


1 … 26 27 28 29 30 … 63